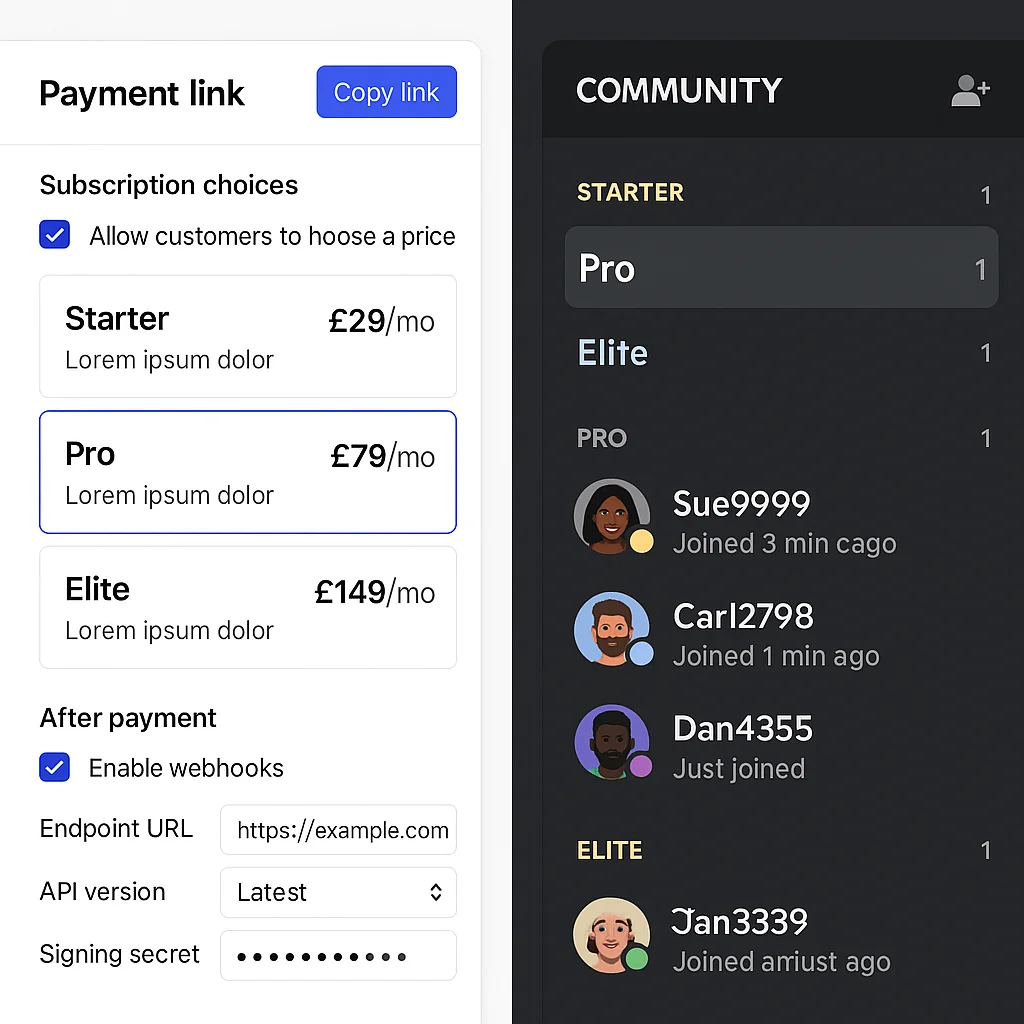
Running a paid Discord community is a real business. The setup should reflect that — not a server thrown together in an afternoon, but a properly built system where payments, access, and member experience all work without manual involvement.
Here's what a proper paid Discord community setup actually involves.
The problem with DIY setup
Most paid Discord communities start the same way: the owner creates a server, sets up a few channels, adds a Stripe payment link, and manually assigns roles when payments come in. It works at 10 members. At 50 it's annoying. At 150 it's unsustainable.
The manual approach has three failure points that compound as the community grows: delayed access (members who pay and wait), access leakage (cancelled members who retain access because no one removed them), and inconsistent onboarding (members who joined on a busy day got half the welcome that members who joined on a quiet day received).
A professional setup eliminates all three from day one.
Stripe configuration
The foundation is a properly configured Stripe setup. For a paid community this means:
- Subscription products created for each tier with correct pricing and billing intervals
- Webhook endpoints configured to send lifecycle events to your automation layer — payment confirmed, subscription cancelled, payment failed, payment recovered
- Customer portal enabled so members can manage their own subscriptions, update payment details, and cancel without needing to contact you
- Tax settings configured correctly for your jurisdiction
The webhook configuration is where most DIY setups fall down. Without the right events being sent, your automation has nothing to trigger from.
Discord server structure
The server is built with a deliberate channel hierarchy and tiered role permissions from the start. Each paid tier maps to a Discord role with specific channel access. Higher tiers see everything lower tiers see, plus their exclusive channels.
The bot role sits above all member roles in the hierarchy — this is a Discord permission requirement that every DIY setup gets wrong at least once. Without it, the bot can't assign or remove roles.
A verification layer prevents anyone who joins the server from seeing paid content before they've completed onboarding. New joins land in a single welcome channel with instructions on how to get their access.
Automation: the connection layer
n8n sits between Stripe and Discord, handling all lifecycle events automatically:
Payment confirmed → Discord role assigned → welcome DM sent → email onboarding sequence started → member logged in Airtable database.
Subscription cancelled → Discord role removed → offboarding email sent → win-back sequence started.
Payment failed → warning DM sent → 4-day grace period → role removed if unresolved → re-engagement sequence triggered.
Payment recovered during grace period → removal cancelled → confirmation DM sent.
Every path is handled. No manual intervention needed for any standard membership event.
Member onboarding sequence
The automated welcome DM gives new members orientation — what the key channels are, what to do first, who to contact with questions. A 24-hour follow-up checks they've found everything. A 7-day check-in points them to the highest-value content.
Every member gets this sequence regardless of when they join or how busy the owner is. The experience is consistent at 10 members and at 1,000.
What's included in a ShipWorkflow setup
When we build a paid Discord community for a client, the project covers: Stripe product and webhook configuration, Discord server architecture and role setup, n8n automation for the full membership lifecycle, welcome DM and email onboarding sequence, member database in Airtable, error alerting so failed automations are flagged immediately, and a full handoff walkthrough.
Most setups go live within a week. Book a free strategy call to scope yours.